Showing posts with label Pinterest inspired projects. Show all posts

Saturday, October 31, 2015

Pumpkin Decorating

Sometimes I wonder how I managed to do anything creative before Pinterest.  It was the first place I looked when I found out our church was having a pumpkin decorating contest at our annual fall festival.  There were so many creative ideas and it was hard to narrow down our choices, but we finally decided on a gumball machine, movie theater popcorn and Superman.  I think they turned out great and the popcorn won first place!


Batman vs. Superman
Bethany's friend made a Batman pumpkin!

Thursday, October 30, 2014

Rice Krispie Pumpkin Treats

These yummy Pumpkin Rice Krispie Treats are super easy to make and the perfect fall snack.  We are taking a batch with us to a hayride tomorrow and I am sure all the kids will love them!  The stem is a tootsie roll and the pumpkin itself is an orange rice krispie treat.  
How cute is that?!
So if you have ever made Rice Krispie Treats before you will have no problem making these.  You use the same recipe and as you are mixing/melting your marshmallows in the butter you add a mixture of red and yellow food coloring until you get your desired pumpkin color.  After you mix in the melted marshmallows with your rice krispies you can start shaping them into pumpkins/balls.  We coated our hands with butter to keep everything from sticking and if you have little kids helping you, make sure the mixture has cooled a little before you start shaping them.   You don't want any burns!  I also unwrapped my tootsie rolls and put them in the microwave for about 10 seconds to make them easy to mold.  I gave them a little twist and pushed it in the top while the "pumpkins" were still warm.  That's all there was to it.  Simple and fun!


Here is the original Rice Krispie Treat Recipe just in case you have misplaced yours! ;)

INGREDIENTS

  • 3 tablespoons butter
  • 1 package (10 oz., about 40)  Marshmallows
  • OR
  • 4 cups  Miniature Marshmallows
  • 6 cups Rice Krispie cereal

DIRECTIONS

1. In large saucepan melt butter over low heat. Add marshmallows and stir until completely melted. Remove from heat.   (this is the when you would add your food coloring)

2. Add Rice Krispie cereal. Stir until well coated. (after this step is when you would shape your pumpkins and then add your tootsie roll stems)

3. Using buttered spatula or wax paper evenly press mixture into 13 x 9 x 2-inch pan coated with cooking spray. Cool. Cut into 2-inch squares. Best if served the same day.


Sunday, October 27, 2013

Country Pumpkin


I want to share this super cute pumpkin my mom made.  She got the idea off pinterest and the original project was done with a real pumpkin. Mom used a fake pumpkin which I think was a great idea.  This way she can get lots of years of use out of it. 

All you need is a pumpkin, a doily, modge podge and ribbon.  Super easy and super cute.


Monday, October 15, 2012

Oven Baked Frito Pie

Good things are meant to share.  That's why I have to tell you about the yummy supper we had tonight!  Another Pinterest inspired recipe that turned out DEELISH!  A family favorite that will make it's way back onto our monthly meal plans.  It's mmm, mmm, good and super easy!

Ingredients

1 - lb. hamburger or turkey burger
1 - 16 oz. can of chili beans
1 - 8 oz. can of tomato sauce
1 - 15 oz. can of diced tomatoes
1 - envelope taco seasoning (I only use have an envelope)
1 1/4 cup shredded Cheddar Cheese
1 bag of Fritos Corn Chips
1 1/4 cup Sour Cream

1.  Cook hamburger/turkey burger until brown then drain.
2.  Stir chili beans, diced tomatoes, tomato sauce, taco seasoning and 1/4 cup of shredded cheddar cheese into the pan with your browned burger.  Simmer on low for a few minutes until hot.
3.  Sprinkle about 1 - 1 1/2 cups of chips into the bottom of an 8x8 or a 9x13 pan.  (I used an 8x8)
4.  Cover chips with entire chili mixture.
5.  Bate at 350 for 20 minutes.
6.  Remove from oven and spread sour cream over chili, top with the rest of the corn chips and sprinkle with remaining cheese.
7.  Bake an additional 4-5 minutes until cheese is melted.

I think this would also be a great thing to make if you had left over chili!!

Saturday, September 29, 2012

Taco Bake

If you love taco's you are going to LOVE this recipe.  It's a new family favorite for us!  You can view the original recipe here.  If you know me at all you know I rarely follow a recipe exactly .  As always I made a few little tweaks. ;)  Here's the recipe the way I did it. :):):)

Ingredients:

1 1/2 - 2 lb. hamburger
1/2 pkg. taco seasoning
8 oz. sour cream
1 pkg. crescent rolls (8)
1 can tomato sauce
1 can diced tomatoes (optional)
1 1/2 c. shredded cheese
1 can refried beans
1 bag Doritos chips (I use off brand) crumbled

1.  Brown and drain your hamburger.

2.  Add taco seasoning, tomato sauce, and diced tomatoes and simmer for 5 minutes

3.  Separate crescent rolls and spread them out into a 9x13 pan.  Press/roll forming a nice crust in the bottom.

4.  Spread refried beans over the crescent rolls.

5.  Add meat/tomato mixture on top of beans.

6.  Next layer sour cream and then cheddar cheese.

7.  Add 3/4 of the bag of crumpled dorritos on top.

9.  Bake on 350 for 25 minutes.

ENJOY!!  You can eat it as is or you can serve with extra tomatoes and lettuce!  SO YUMMY!


Friday, September 28, 2012

Decorated Clip Board

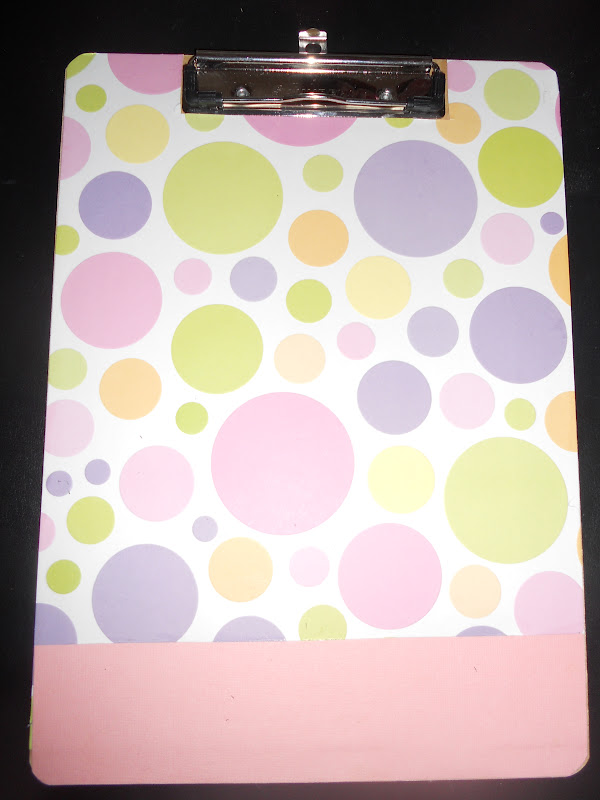
All you need to make a super cute decorated clip board is a clip board, scrapbook paper, ribbon, cork board and any other embellishments to make it cute!  I used Modge Podge to secure my paper onto the board.  I tied the ribbon around the clippy part and secured the cork board and small box with double sided self adhesive.  I added a few decorative clips for holding messages and voila!  Super quick, cheap and easy project!  I think this would make a great gift as well. 


I have it hanging on a door and we use it as our family message center!  


Bethany made one too!  Hers is simple but cute and she uses it for her schoolwork.


Monday, September 10, 2012

Let's Wrap It Up

Have you ever found yourself ready to wrap a present only to find out that you are out of wrapping paper?  It has happened to me before, but guess what?!! No reason to sweat it.  Thanks to Pinterest and the awesome ideas I find there, I realized that you can use simple things you have around the house to wrap a gift and make it look super cute.  


There are tons of ideas, but the one I used this time was wrapping my gift in brown paper.  All you need is an old brown grocery bag!  I also used a little lace I had around the house and I tied some dried tansy that I had from my herb garden with a yellow ribbon.  It turned out very sweet.  The wrapping itself was a work of art!  I just may do all my gifts like this from now on. :):)


Saturday, July 21, 2012

BLT - Bacon Baskets

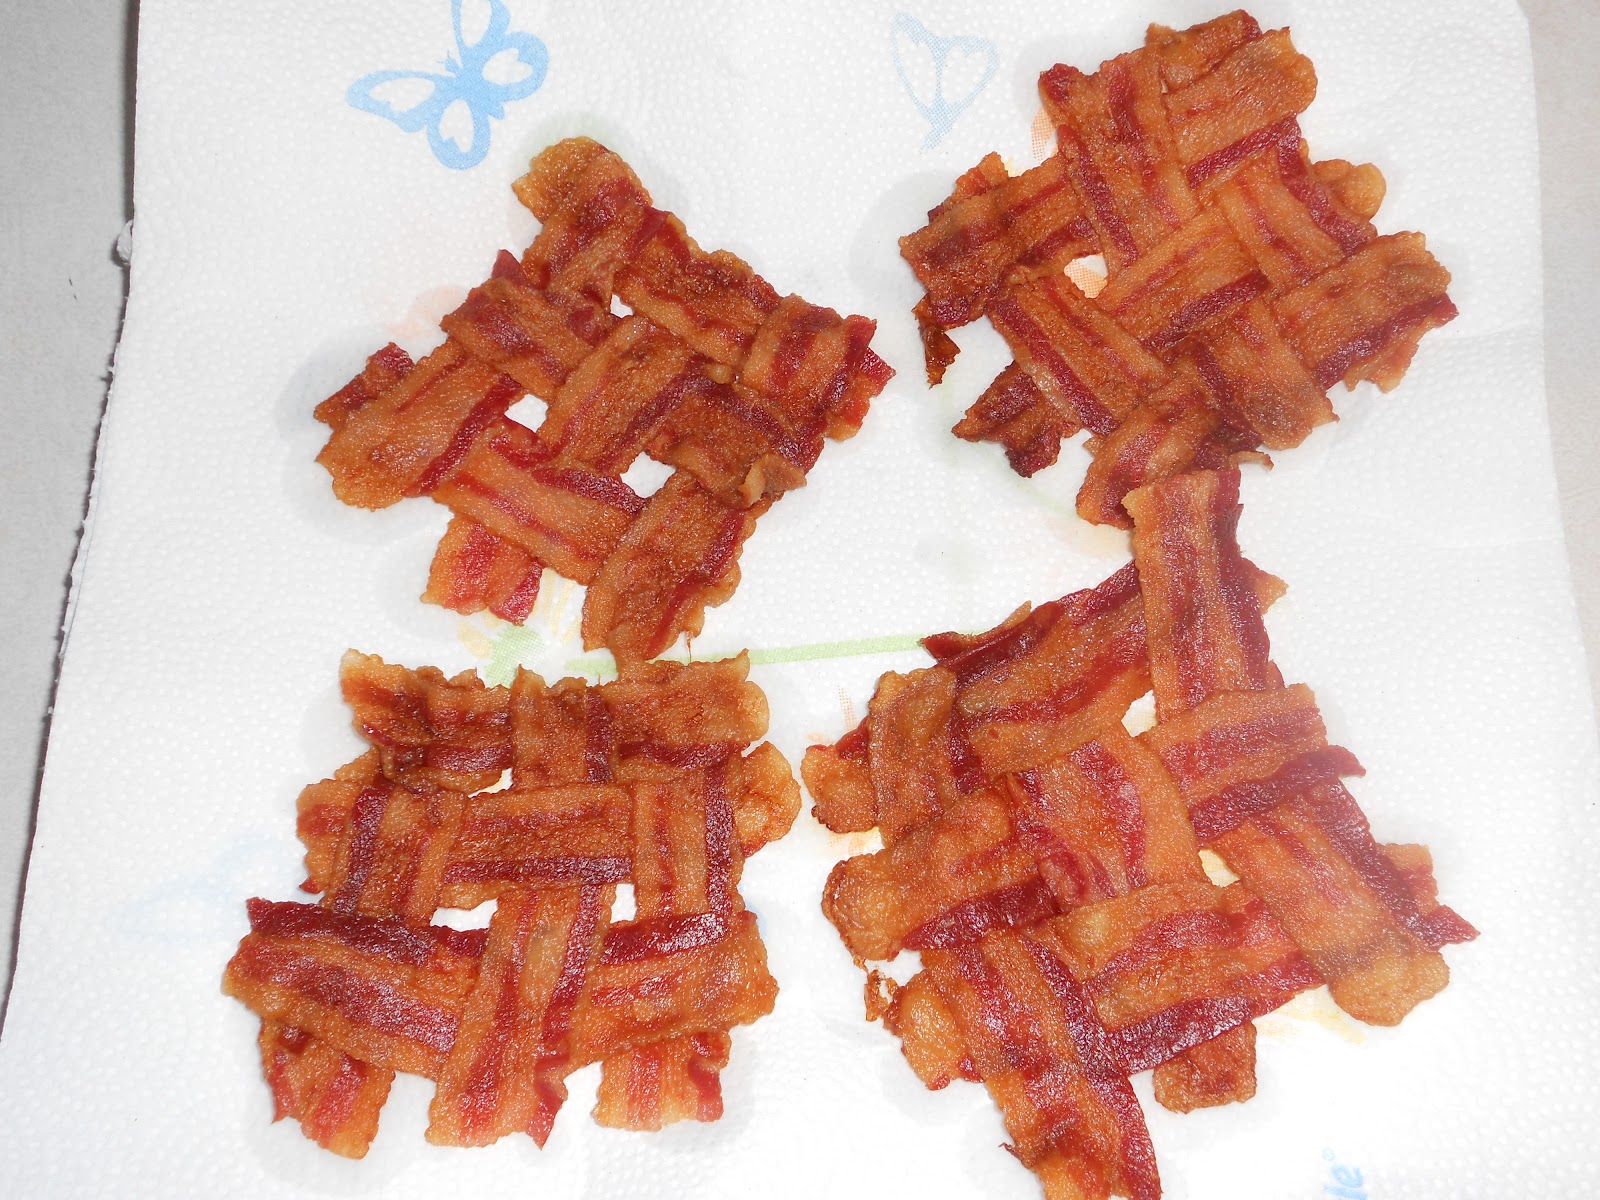
Sometimes I wonder how I ever did anything before pinterest. ;)  I can't tell you how many times I see a pin and think...huh, why didn't I think of that?  When I seen a new way to make bacon for BLT's I had one of those moments.  It is so simple.  All you do is weave 6 pieces of uncooked bacon together and cook it in the microwave like you normally would do.  When it's all done you have a perfect bacon square (or a bacon basket as Bethany calls them) that fits perfectly on your bread.  Every bite you'll get a taste of bacon and no more bacon falling out of the bottom of your sandwich.  It is a bacon lover's dream come true. :):):)


Friday, July 20, 2012

Canopy Fun

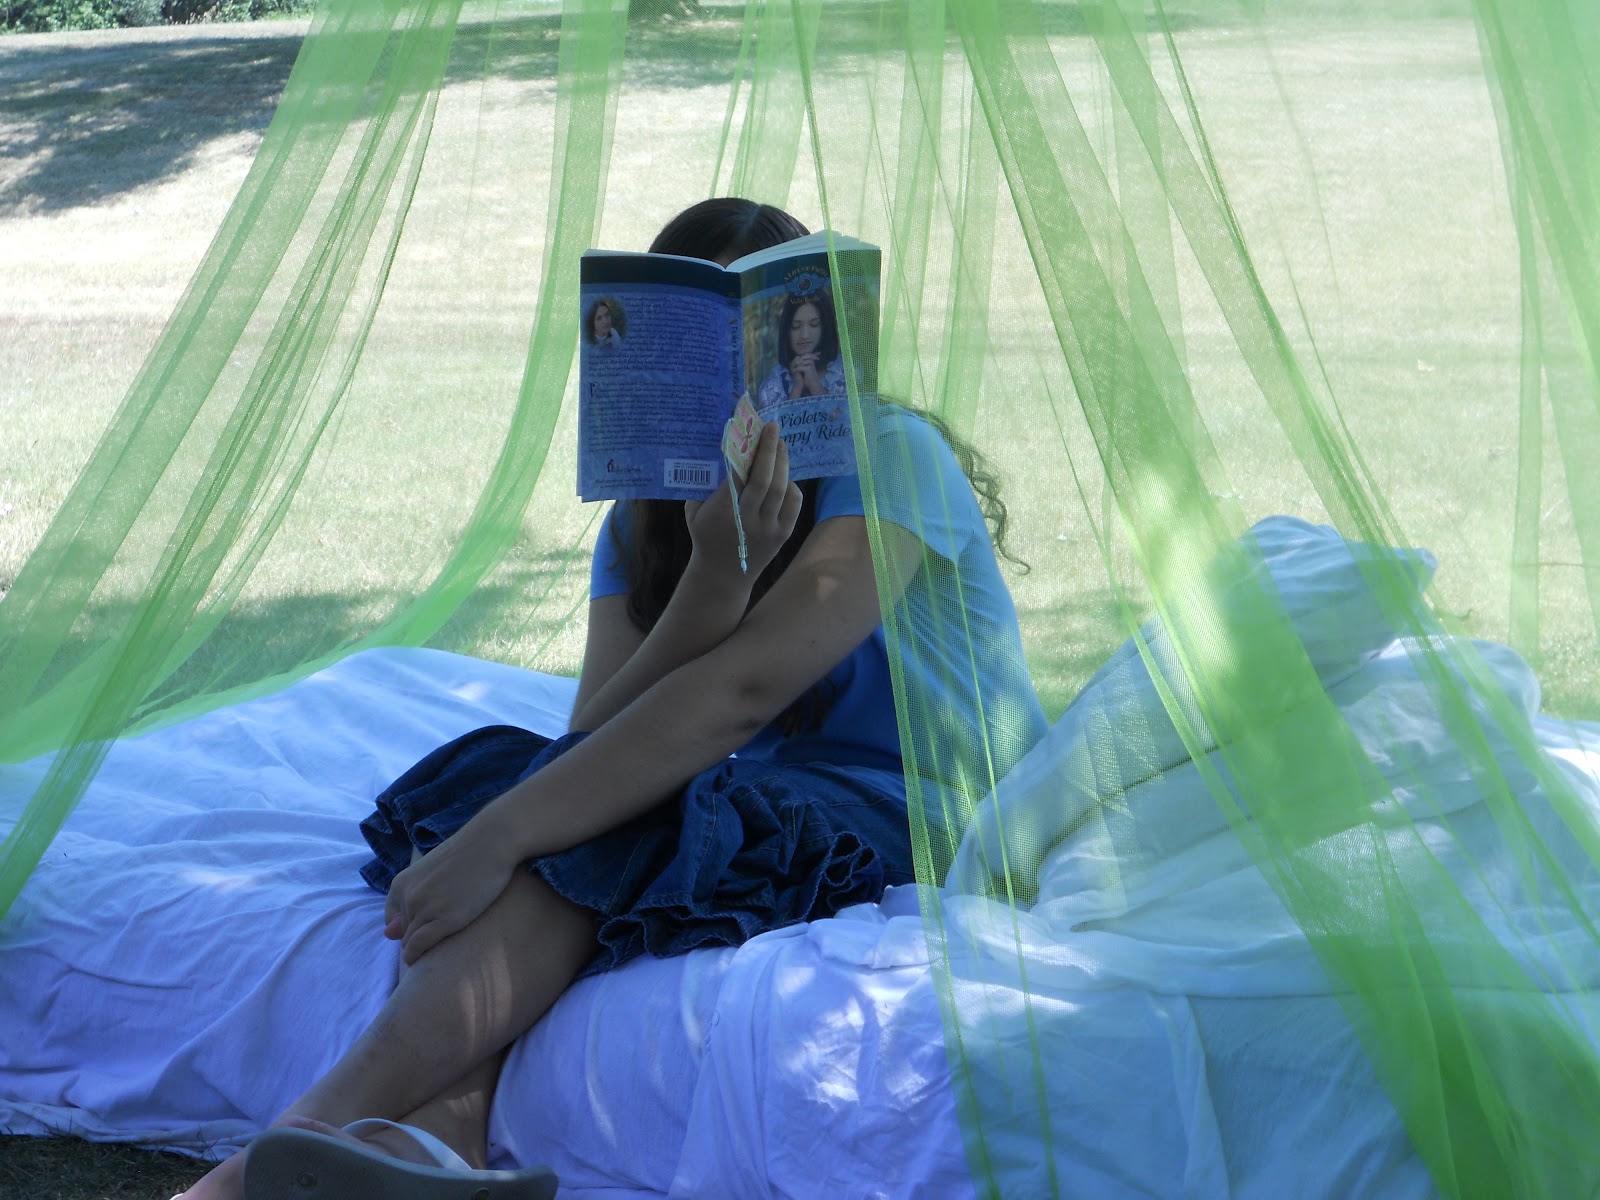
This past spring I found a canopy at a yard sale and I couldn't resist getting it!  As soon as I seen it I knew exactly what I wanted to use it for.  I wanted a little outdoor retreat!  A sweet little place to relax and read.   It was as perfect as I envisioned!   I hung the hoop part on a tree, blew up an air mattress, added some sheets and pillows and.....viola'!


Bethany loved it too!


Tuesday, July 10, 2012

Fruit Pizza

 I made a delicious fruit pizza for our Fourth of July BBQ and it was a great hit.  I will definitely be making it again! 
Fruit Pizza
Crust:
  • cooking spray
  • 1 package refrigerated sugar cookie dough
Sauce”:
  • 1 package (8 oz) cream cheese, softened
  • 1/4 cup powdered sugar
  • 4 oz (1/2 an 8 oz container) frozen whipped topping, thawed
Glaze:
  • 1/4 cup sugar
  • 1/4 cup orange juice
  • 2 Tbsp. water
  • 1 Tbsp. lemon juice
  • 1 1/2 tsp. cornstarch
  • Pinch of salt
Spray a pizza sheet with cooking spray. Spread cookie dough evenly over sheet. Bake at 350 for 15-20 minutes until very lightly golden brown. Let cool for an hour or more.
Beat cream cheese and powdered sugar until smooth. Stir in whipped topping. Spread evenly over the crust.  Top with your favorite fresh fruits.  Make glaze while crust is still cooling. In a saucepan, bring sugar, OJ, water, lemon juice, cornstarch, and salt to a boil, stirring constantly for 2 min or until thickened. Let cool and brush over fruit. Store in the refrigerator. Best if made the same day as served.

***I waited till the glaze was completely cool to put my fruit on, that way I could brush the glaze over immediately and prevent the bananas from turning brown.


Thursday, June 7, 2012

Grapesicles!

Looking for a healthy summer treat that is sure to cool you off on a hot summer day and tantalize your taste buds at the same time.  If so I have a grape  great idea for you!  Grapes on a skewer!  Pop them in the freezer and you have a delicious healthy alternative to popsicles that the kids are sure to love!  Mom will love them too because they are quick, easy and healthy!!

Thursday, May 31, 2012

Homemade Fabric Softener

I decided to try a recipe for homemade fabric softener that I seen on pinterest.  It's a super easy recipe and I really like it!

All you need is:

6 cups of hot water
3 cups of white vinegar
2 cups of hair conditioner

Mix all the ingredients in a bowl.  Use a wisk to mix it together real good.  Add to a container for storing and use the same amount as you normally use in your rinse cycle.  You can also spritz it on a washcloth and throw it in the dryer instead of a dryer sheet.  The smell of the hair conditioner over powers the vinegar and you do not have the strong vinegar smell.  I will definitely be using this from now on!

This is what I keep mine in.  One batch filled all three bottles to the top and I still had some left!

Friday, April 6, 2012

Birthday Candy Gram

I have such a hard time coming up with gift ideas to get men, so I was so excited to see the idea of a candy gram on pinterest.  A little tweaking to meet my needs and this is what I came up with for my brother-in-law's birthday!

Thursday, February 2, 2012

Herb Roasted Chicken

Tonight I fixed another pinterest inspired recipe for supper and it was so delicious!  As always I took the recipes from a couple pins and tweaked them to what works best for me.
The chicken was so tender and juicy and just fell off the bone.

I took a whole chicken and stuffed it with a two lemon halves, a quartered onion, and a few cloves of garlic.  I took 3 Tablespoons of canola oil and mixed that with some lemon thyme that I had dried from my herb garden.  I rubbed that mixture all over the chicken, put it in a shallow pan, covered with foil and cooked on 350 degrees for about 2 hours and 45 minutes.  I checked it often to make sure it wasn't getting too brown and about an hour before it was done I added some potatoes and carrots.  It will definitely be a meal that will be added to my monthly menu plan!


Thursday, January 26, 2012

Pinterest Inspired Doggie Bed for Daisy

I am so in love with Pinterest!  It has such wonderful ideas for cooking, crafts, homemaking....you name it.  If it can be done, it has been pinned.   

One thing that quickly got my attention on Pinterest was the many ideas of things to make from wooden pallets.  There are so many neat ideas that I had to make a board just for that!   Lucky for me my brother-in-law gets tons of pallets with his business and he is saving a bunch for me.  He has already sent me some nice slabs of wood.

One of the ideas of "things to do with wooden pallets" was to make a dog bed.  Well, if you know me you know how much I love my sweet dog Daisy and since it is too cold to make some of the outdoor wood pallet ideas I decided to start with an indoor project.  So I took two of the boards and cut 2 pieces 2 feet long and 2 pieces 18 inches long.   I used a table saw, but I'm sure you could use a regular saw. 

Next I painted the wood black.  I had some black spray paint already so that was perfect!

I had seen a really cute idea on pinterest where you take your dogs paw and dip it in paint and then make a paw print.  The pin I saw was a framed puppy print, but I decided to use the idea for the bed.  Here's what I did:

I put her paw print down the two side boards and the back board.   Daisy was not too fond of this process and was very glad when it was over.  ;)

I knew on the front board I wanted Daisy's name with a daisy (the flower) on each side.  I am not good at free style painting, but guess what???  I found this great tutorial on........wait for it.......PINTEREST that shows how to paint stencil-like letters on wood.  It is so easy!  I loved it so much I want to do more.  I'm seeing wooden signs in my future.

After that was finished all I had to do was put it together.  Tools needed:  hammer and nails.  :):)  


For the bedding I used a couple pillows that were already designated for Daisy use and covered them with black fleece and voila....


Daisy LOVES it!!  
So that's it!  I took 3 different pins I seen, mushed them together in my own way and created the cutest little doggie bed ever!  Well, at least in my own opinion. ;)

If after reading this you are pinspired you can head right over to Pinterest and check out all my boards by clicking here.